
A while ago I saw, a crochet room divider on the apartment therapy website. The divider was crocheted using a heavy jute type rope and a large crochet hook. When I saw this I immediately thought about creating a room divider using doilies instead of the heavy rope.
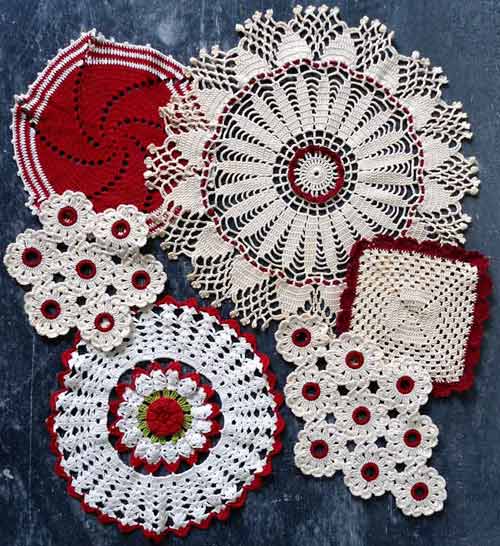
For years I have visited massive antique shows that take several days to walk through. This is the only time I walk for hours and hours and I don’t mind. The thrill of the hunt keeps me going. I am hunting for everything from vintage potholders, unique linens and crochet lace doilies to the Sculptured Zinnia dishes that I collect.
Over the years I’ve collected a lot of doilies. The plan for these doilies was to eventually write patterns for all of them to post on Maggiescrochet.com. A few of the patterns have been written but most of them have been boxes for years. I thought this room divider idea would be a great way to bring the doilies out into the light of day.
I ordered 12 inch brass rings and pulled out a bunch of doilies that I thought would be good for the project. Now the new box with brass rings and doilies sat there for months until my new office was ready for me to move in to.
Instead of a room divider, I decided to attach the doilies to the ring and hang the rings on the wall without connecting the rings together. Every night after work I crocheted casings on the doilies and attached them to the rings. Each morning when I got to work I would run into my office and hang the new wall art doily on the wall to see what it would look like. It was gorgeous!!! Don’t you agree??
To attach the doily to the ring you will need the following materials:
- A metal ring that is 1 to 2 inches bigger than the outside diameter of your doily.
- Sport weight cotton yarn
- Yarn needle
- Twist ties or soft craft wire
- Scissors
- Doily
Step one: Follow the video and choose a doily that is easy to crochet a casing around. Choose a doily that has shells or scallops or stitches that will hang over the metal ring. You will be working between the shells, scallops or stitches to create a casing for a drawstring. Make sure that the doily is smaller than the ring so that it can be stretched to fit. If you are crocheting a doily, make the doily first and buy the ring afterwards.
Step two: Working between the shells, scallops or stitches on right side of doily, join thread with a slip stitch, chain enough chains to reach across to the space between the next 2 shells or scallops or stitch groups. Make sure this chain is not too loose or tight. It should just lay flat. Slip stitch in the space between the next two shells, scallops or stitch group. Continue all the way around working the same number of chains. Join with a slip stitch to the first slip stitch. Slip stitch to center of next chain loop, chain one and single crochet in same space, work the same number of chains as round one, single crochet in next loop. Continue around; end chain and join with a slip stitch to first sc. Finish off and weave in ends.
Step Three: Crochet a chain that is long enough to go around the ring twice. With the right side of doily facing down on a table in front of you, attach the outer edge of the doily to the outer edge of the ring with the wire. Make sure not to catch the casing in the wire. Weave the long chain through the last round of the casing. Tie a knot with the ends of the chain. Keep tightening the ends of the long chain until the doily is in a good position on the ring. Secure the ends of the chain and finish off.
Note 1: I like to tie a bow with the ends and then tie a knot with the loops of the bow so the bow does not come untied. This way if the doily sags a little or gets dirty you can tighten it and or wash it. You could also take the casing off if you change your mind about a precious doily hanging on the wall.
Note 2: If your doily is plain in the middle you could add a crocheted flower like a rose or a pansy to liven it up.
Watch my right handed video tutorial:
Watch my left handed video tutorial:
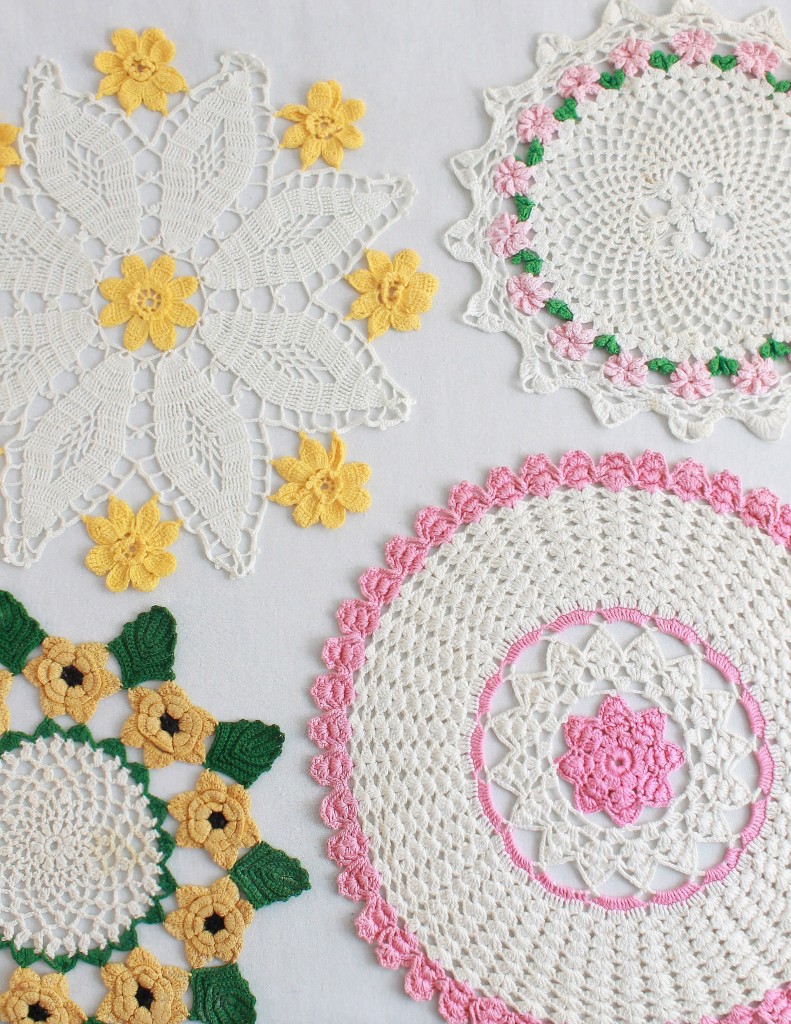
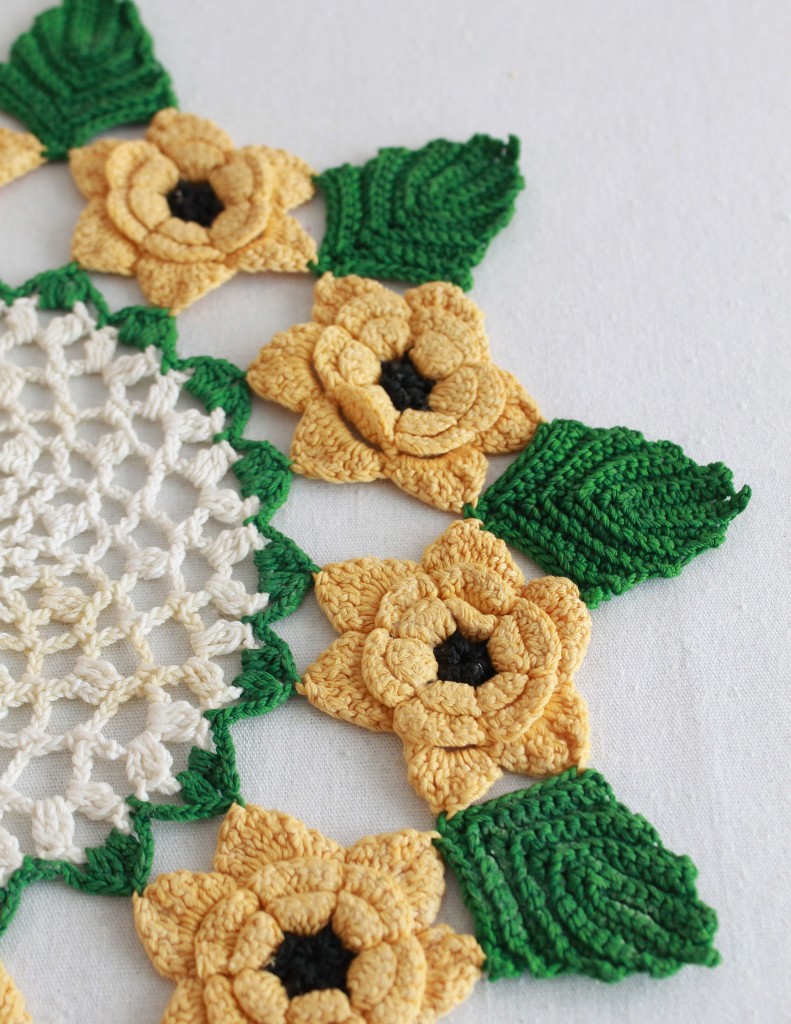
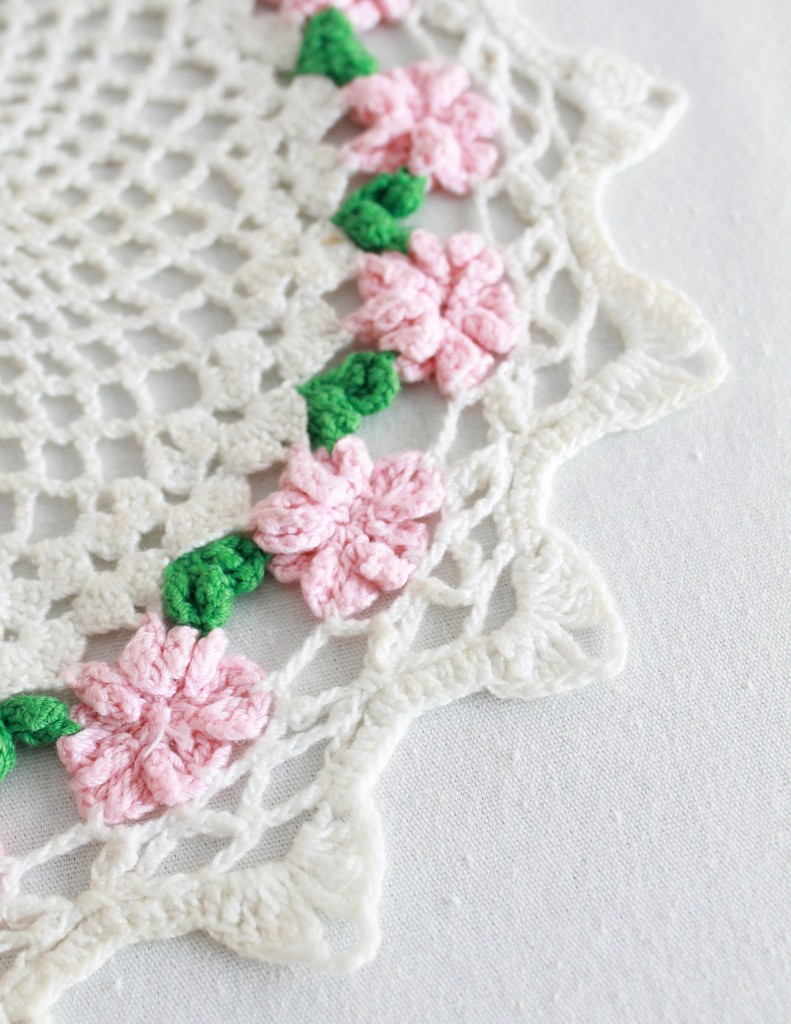
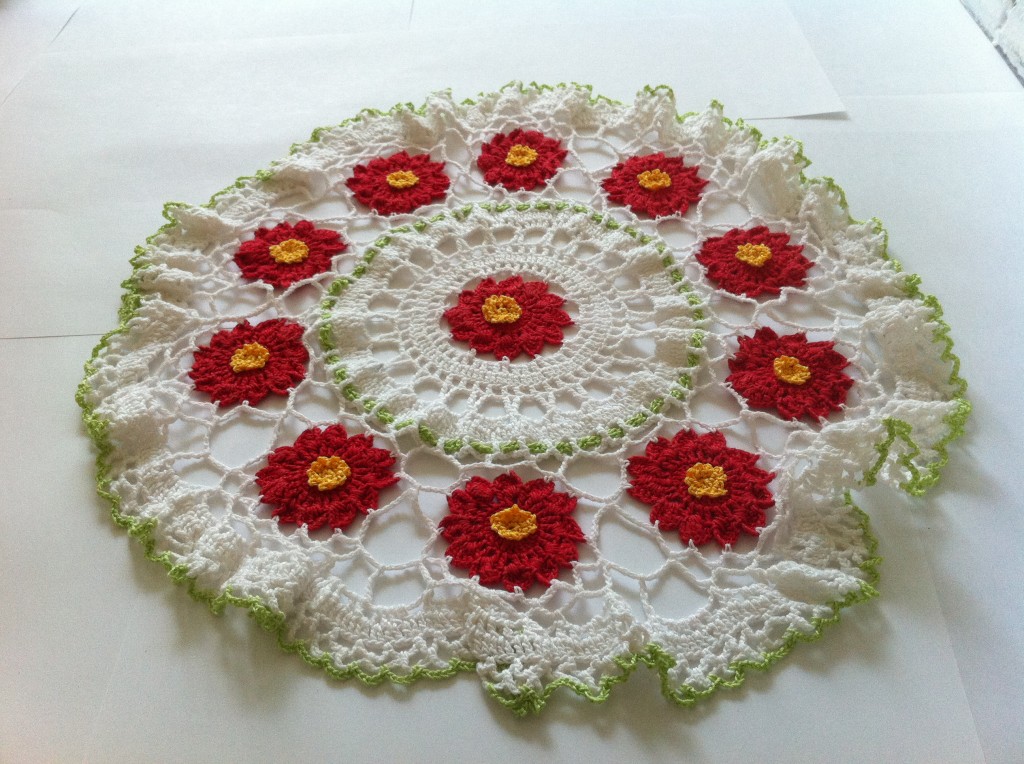
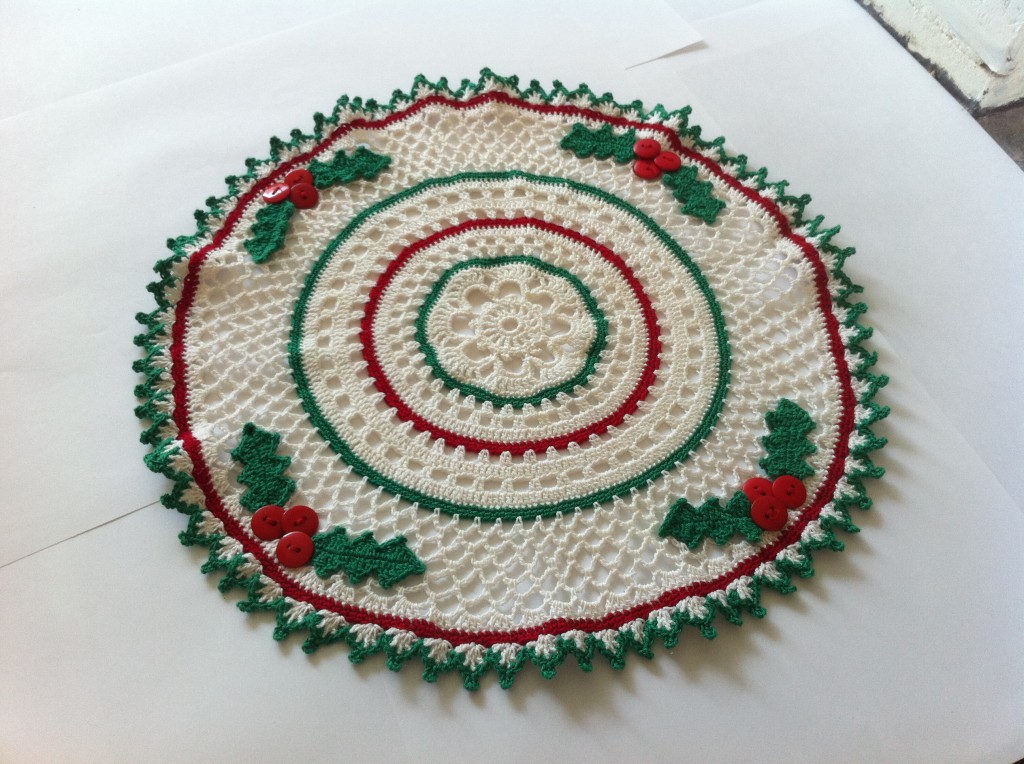
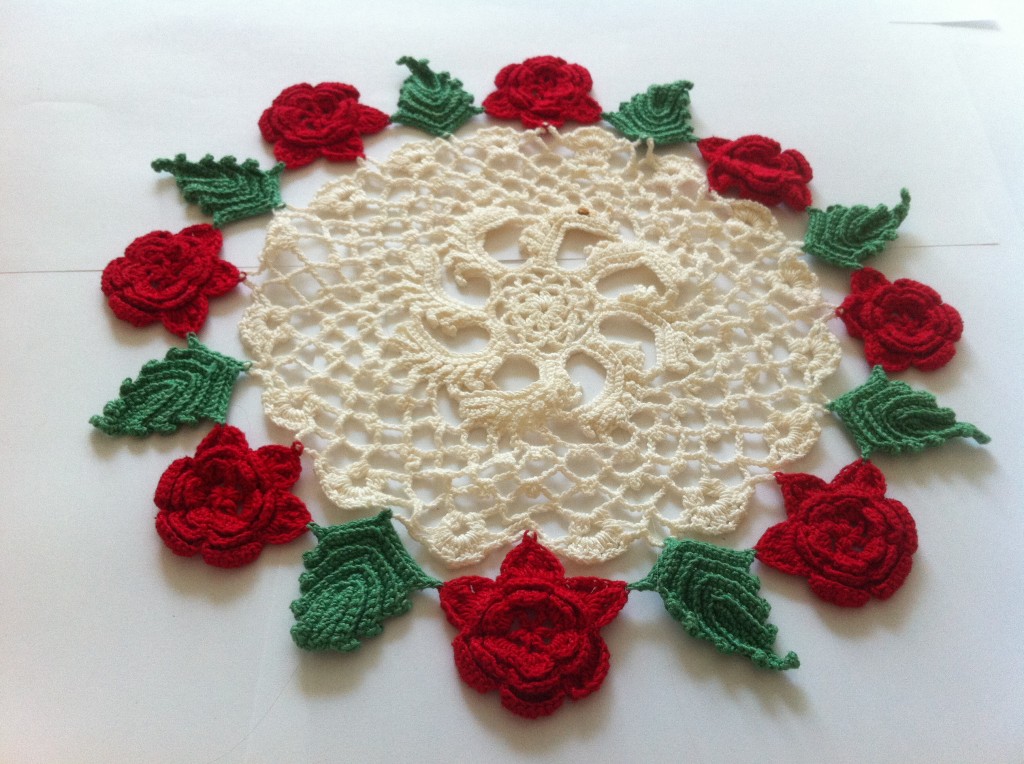
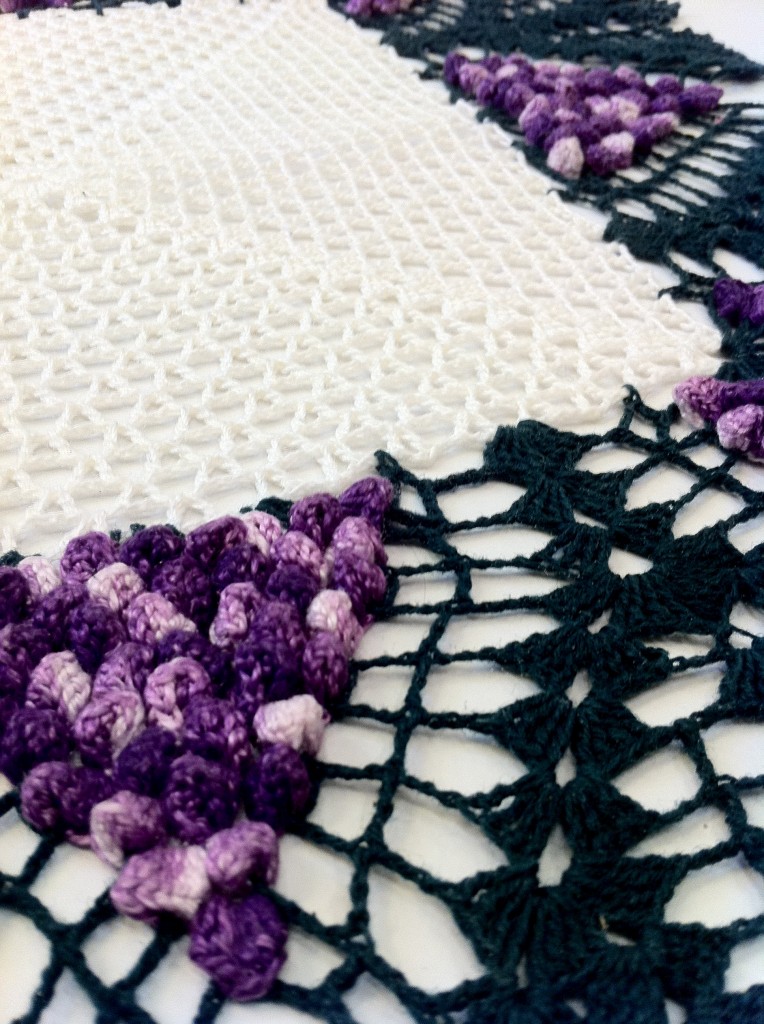
Here are links to vintage doilies that are available at MaggiesCrochet.com
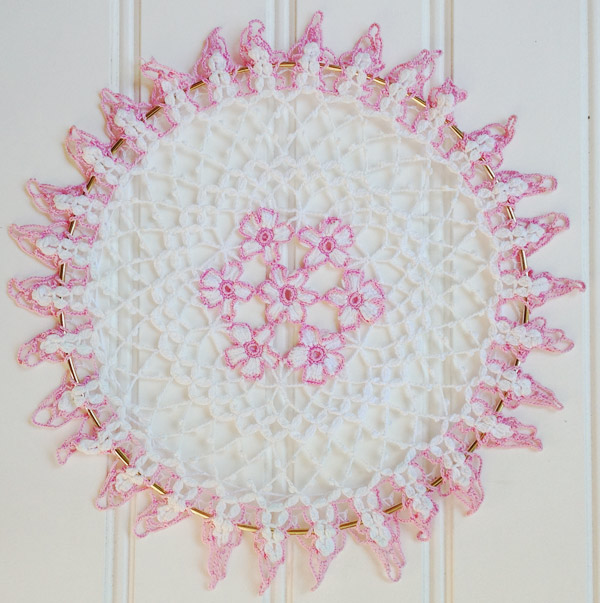
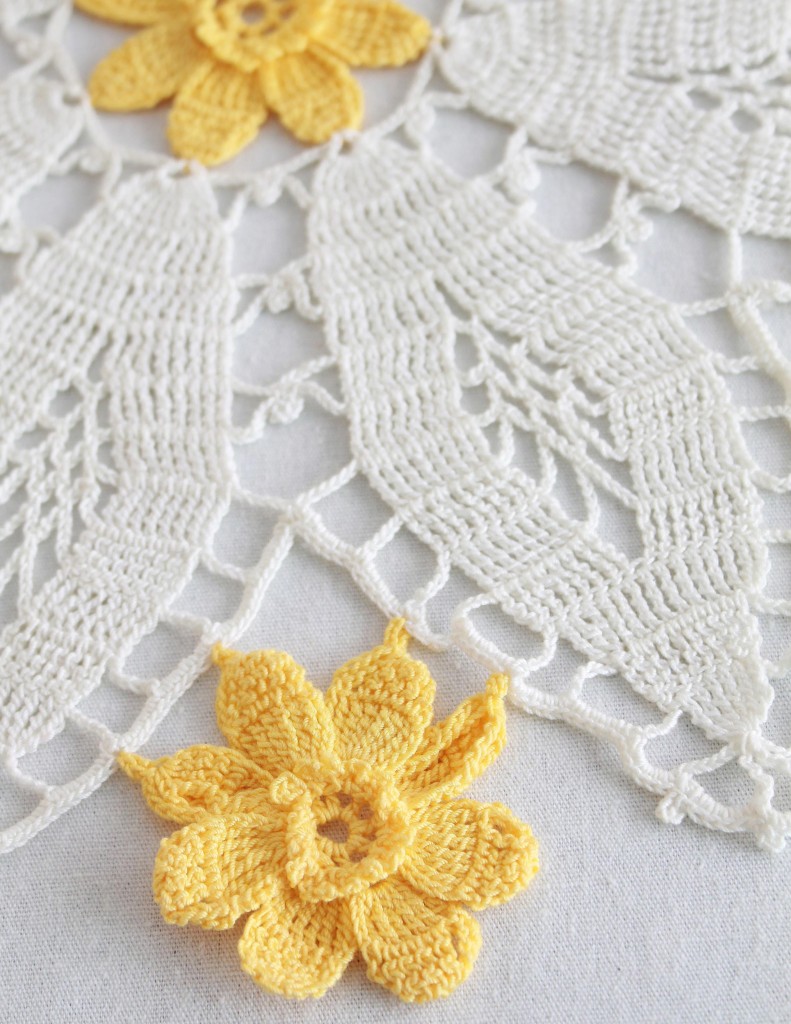
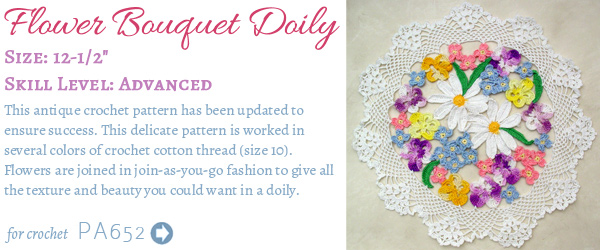
Click the photo for pattern details.
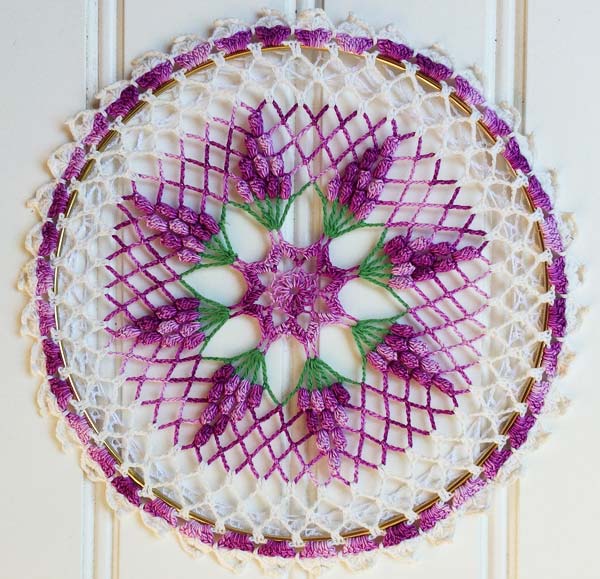
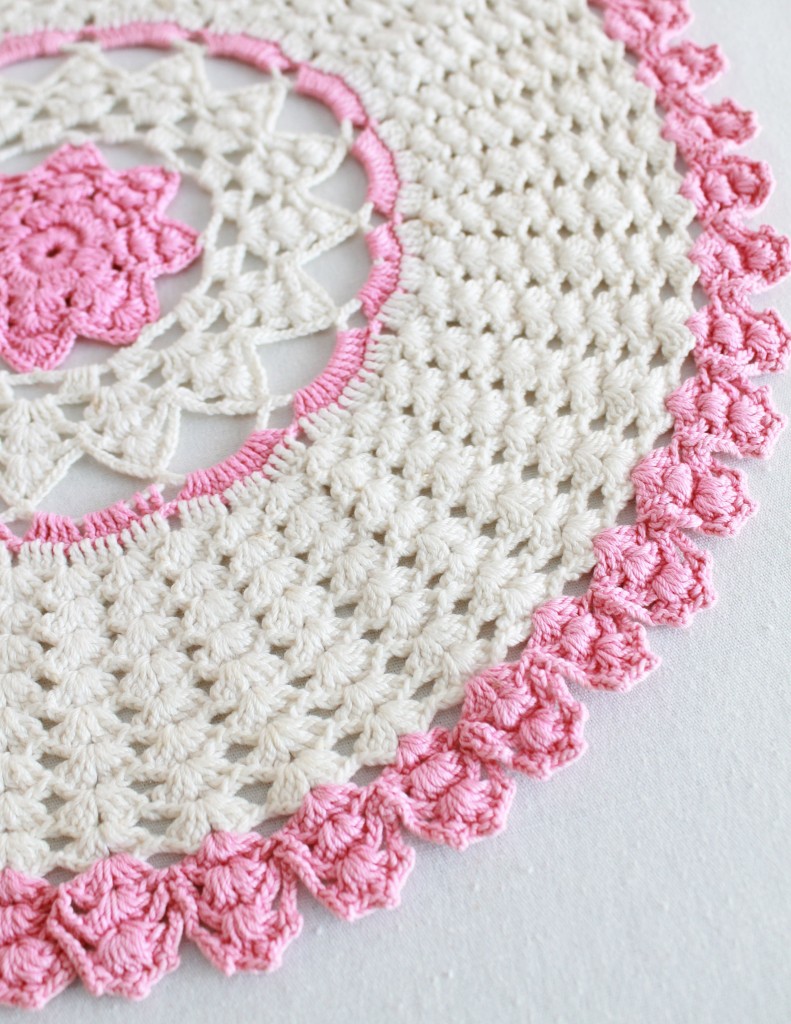
Click the photo for pattern details.
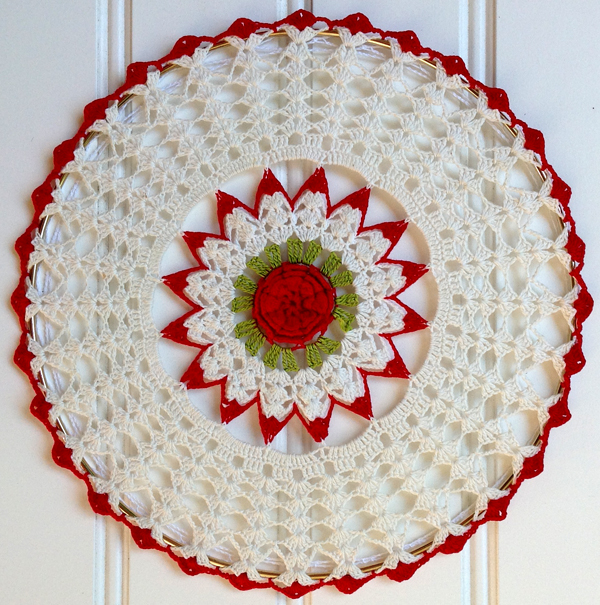
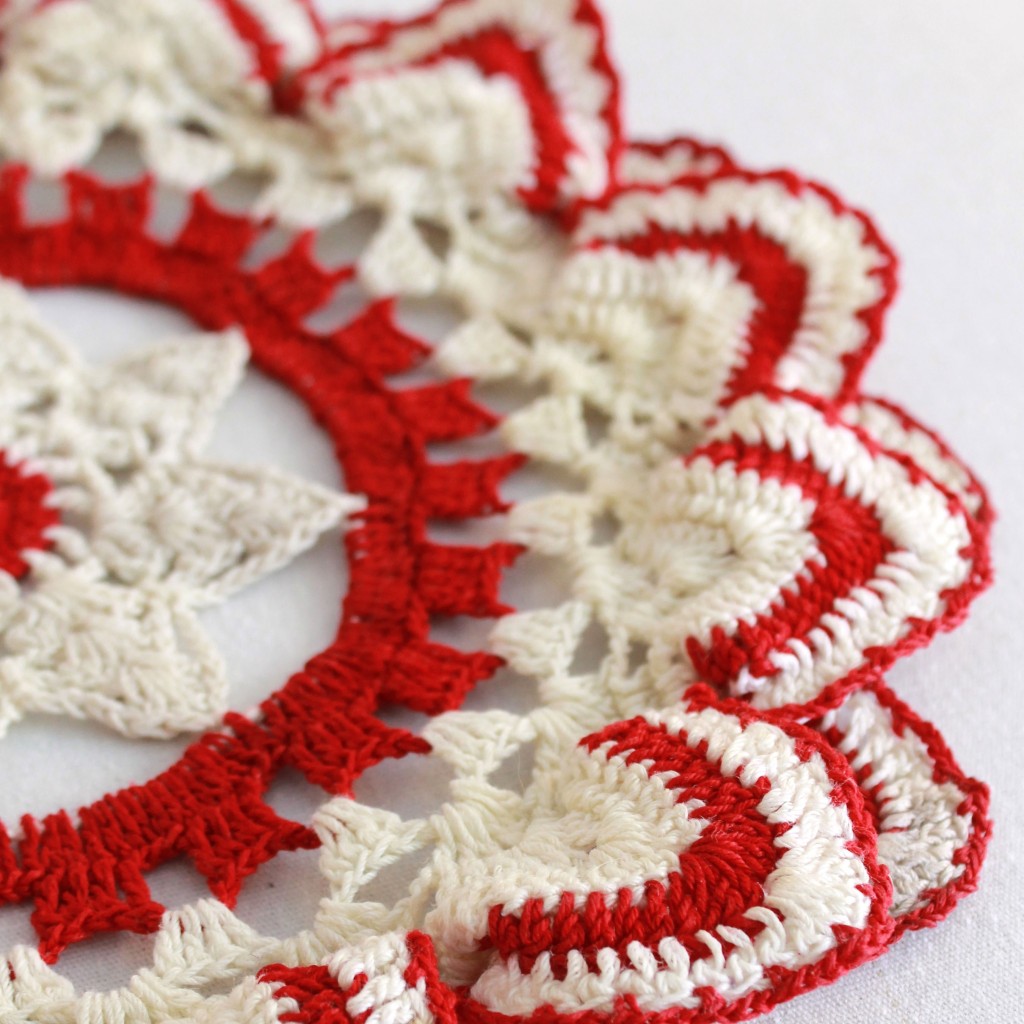
Click the photo for more details.
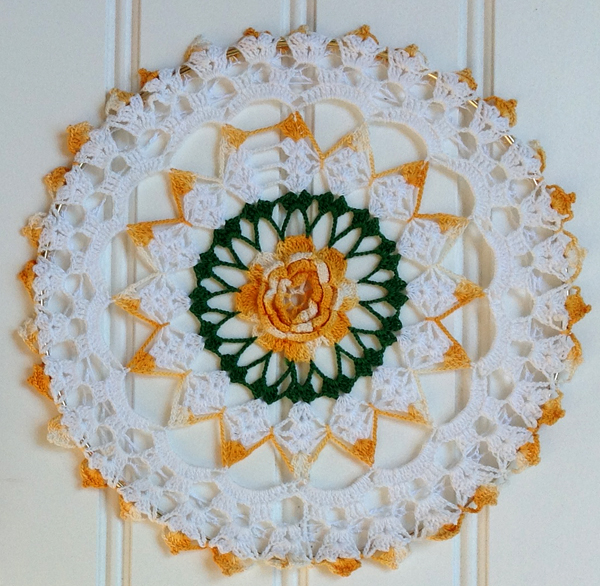
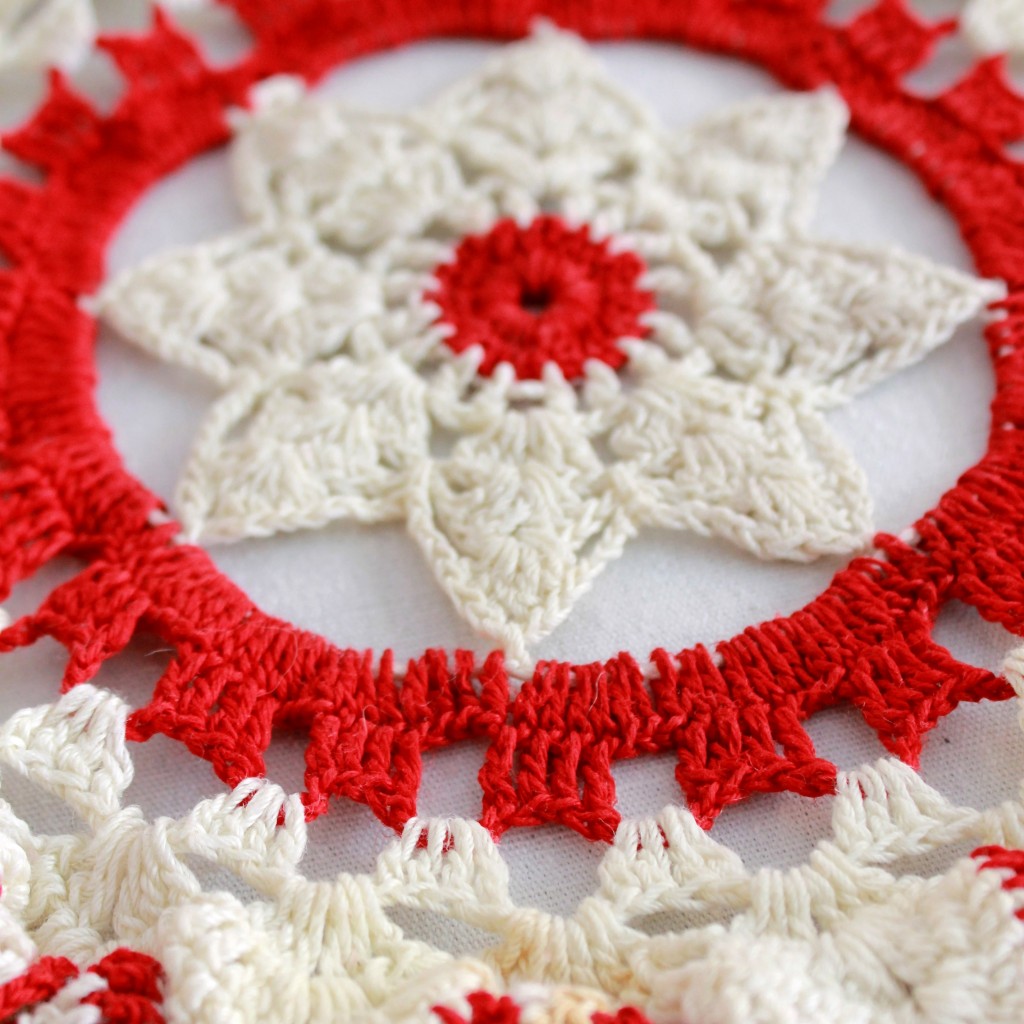
Click the photo for pattern details.
Click the photo for pattern details.
Click the photo for pattern details.

Click the image for pattern details.
Click the photo for pattern details.
Click the image for pattern details.
Click the photo for pattern details.
Click the photo for pattern details.
Click the photo for pattern details.

Click the photo for pattern details.

Click the photo for pattern details.
Click the photo for pattern details.
Click the photo for pattern details.
Click the photo for pattern details.
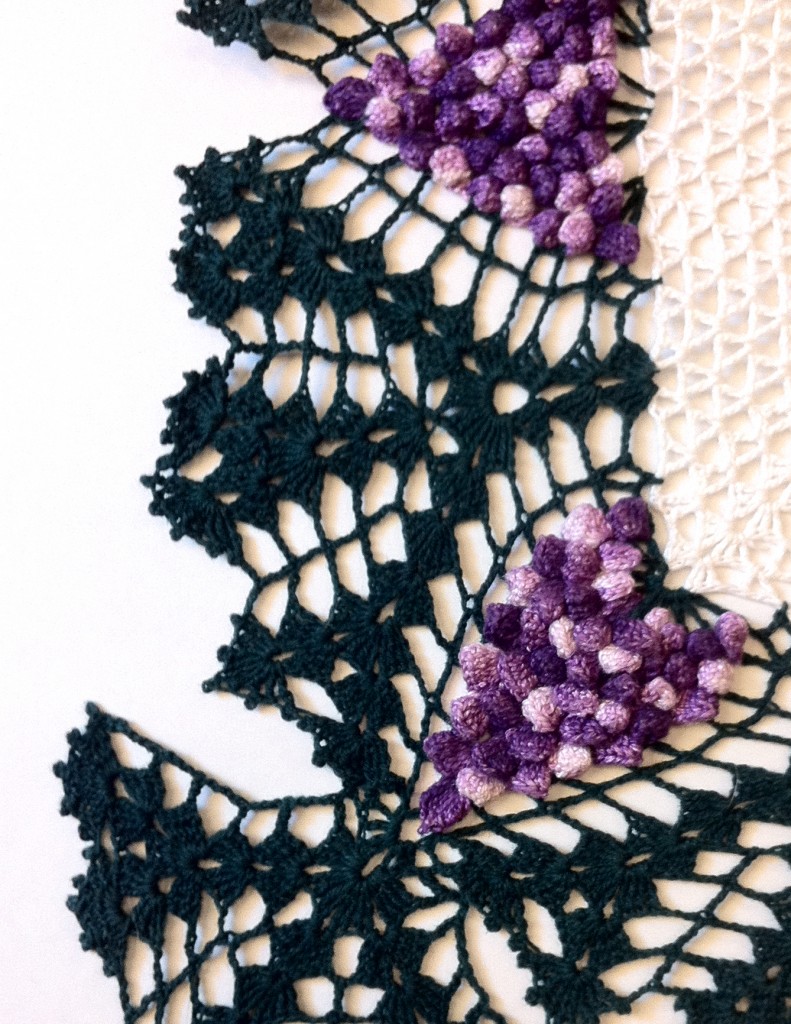
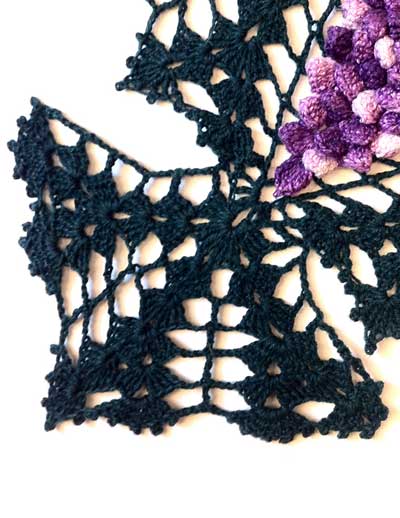
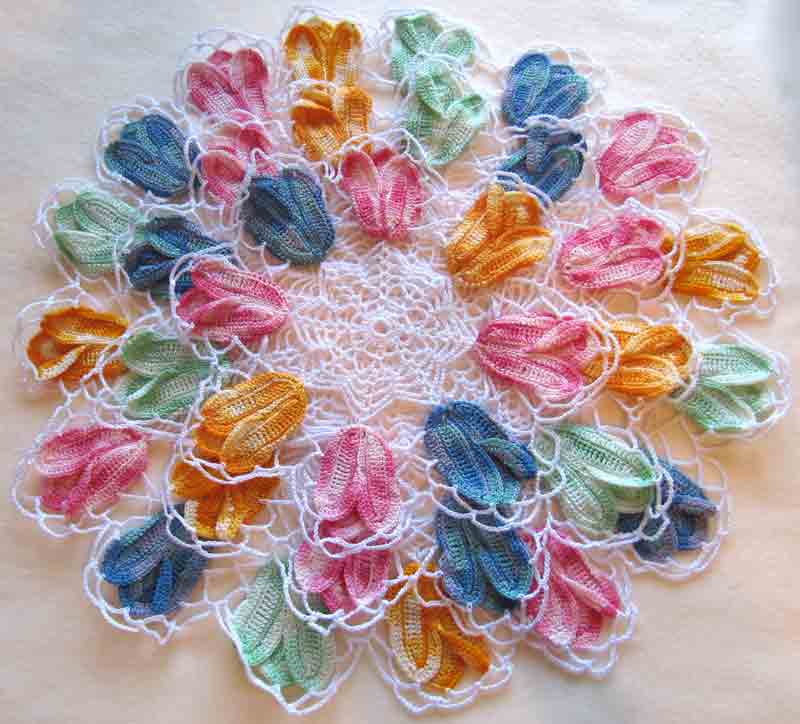
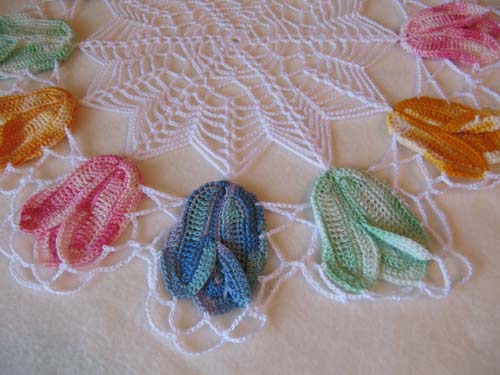
Vintage Variegated Tulip Doilies Set
Click the photo for pattern details.
Click the photo for pattern details.

Click the photo for pattern details.
If you liked this post, be sure to check out How to Cover Vases with Vintage Lace Doilies with easy video lesson.
Thanks for reading,
Hugs, Maggie
Be sure to…
Visit my Website
Join me on Facebook
Subscribe to the Maggie Weldon YouTube Channel for crochet lesson videos
Subscribe to Maggie’s Crochet YouTube Channel for product reviews
Sign Up for My Newsletter
Follow us on Pinterest
Follow us on Twitter
Tell Me What You Think – comment below
No Comments