Arm knitting, finger knitting, hand chaining…..they are all the rage in the handicraft community these days. If you haven’t tried arm knitting yet, here’s your opportunity to learn it from the best!
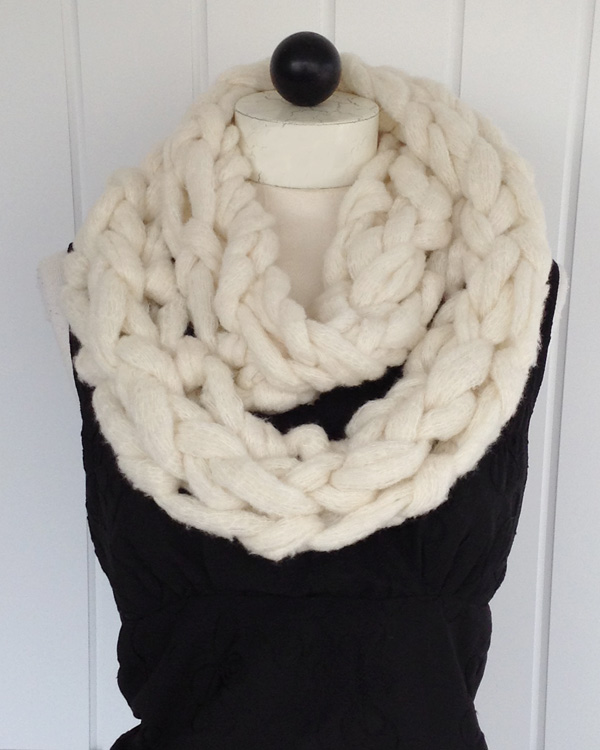
Couture Jazz® is an airy, open net-style yarn perfect for sophisticated scarves and accessories. While you can work into the edge of the netting just like Starbella to create cascading ruffles as trim or even as a fashionable wintertime accessory, we will be using it to arm knitting a cozy winter scarf. After the videos we will also provide a more detailed written description on how to arm knit.
Watch the Right-Handed Video Tutorial:
Watch the Left-Handed Video Tutorial:
How To Make an Arm-Knitted Scarf:
The first thing you need to know is how to “cast-on” – make beginning stitches.
You will need to pull out a length of yarn to use for your cast-on. About 1.5 yards will make 3 cast-on stitches. This end of the yarn is called the “long-tail”. The remainder of the skein is called your “working” yarn. Once you have your stitches cast on, you will no longer be using the long tail.
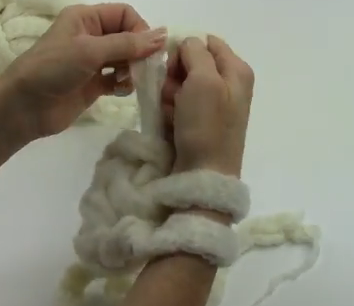
To begin: Make a slip-knot large enough to slide over your hand to fit loosely at your wrist. Place the loop over your dominant hand; tighten slightly. This is your first stitch. Make sure the long tail is toward the top of your slip knot, with the working yarn toward the bottom. With your opposite hand, spread your thumb and forefinger, making an L-shape. Drape the long tail over your forefinger, and drape the working yarn over your thumb. When the yarn is picked up correctly, it will make a “V” shape.
With the hand of arm holding first stitch, put your hand under the strand of working yarn on thumb, pick up the long tail from forefinger, and pull through to make a loop.
Place that loop on arm with slip knot, and you have your second stitch, the first one you’ve “cast on”.
Repeat this process until you have the number stitches you need.
Now the fun starts – let’s start knitting.
With the hand of arm holding stitches, pick up the working yarn and hold it in your hand.
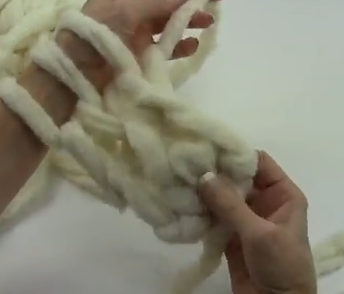
Pull the first stitch on your arm over the working yarn and pull up working yarn into a loop through the stitch, making a new loop.
Place the new loop on your other arm and tighten slightly.
Repeat until all stitches have been knit onto other arm.
Repeat the process with other arm, continuing to switch from arm to arm until desired length is reached.
Time to finish our scarf, also called binding off.
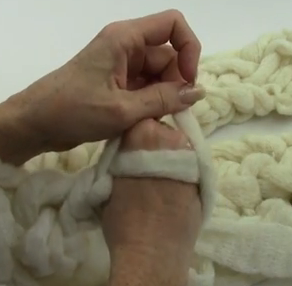
Begin by knitting the first 2 stitches. Pick up the first knit stitch and pull it over the second and drop it. That becomes a “bound off” stitch. Knit the next stitch. Again, pick up the previous stitch, pull it over the stitch you just knit, and drop it. Continue until all stitches have been worked and you have one remaining stitch. Pull the remaining working yarn through the last stitch and tighten.
TA-DA!!! You know how to arm knit, and the possibilities are endless.
We’ll be making an arm-knit afghan soon, so stay tuned for that. In the meantime, if you missed our other arm-knitting project you can find it here.
Quick links to the yarn and videos are listed below:
Hugs,
Maggie
Be sure to…
Visit my Website
Join me on Facebook
Subscribe to the Maggie Weldon YouTube Channel for more crochet lesson videos
Subscribe to Maggie’s Crochet YouTube Channel for product reviews
Sign Up for My Newsletter
Follow us on Pinterest
Follow us on Twitter





No Comments