Welcome to Crochet University!
Over the course of 12 blog posts we will introduce you to the basics you need to know for most any crochet project. From a slip knot to a treble crochet, you’ll learn all of the basic stitches and concepts.
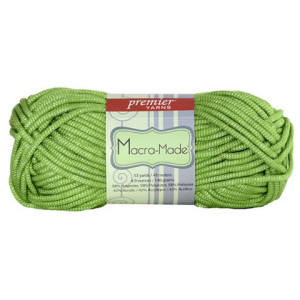
For Crochet University you will need some basic supplies. To begin, we’re going to be using Macra-Made super bulky yarn and a large crochet hook. The advantage of using a bulky weight yarn to begin with is that the loops and stitches are much more easily visible as you’re learning.
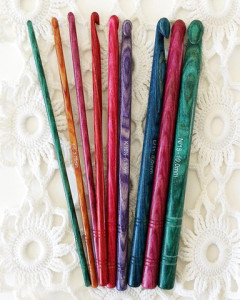
You will also need an easy-to-use crochet hook. We recommend Dreamz Crochet Hooks. Dreamz hooks are designed by people who know and understand the art of crochet. All hooks have grooves that stitch slippage, making life a bit easier for beginning crocheters. Dreamz hooks have a polished wood surface that insures effortless glide – they work with every type of material.
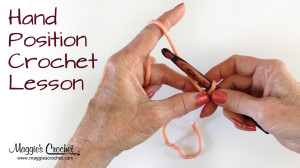
Lesson 2: Hand Postition
Crochet hooks are available in many different sizes and shapes. You can find thin, fine hooks to crochet doilies and lace or thick, large hooks made from wood or plastic for crocheting rugs and sweaters. Some hooks have thick handles or ergonomic designs to make them easier to hold.
Popular hook brands are make from aluminum and about 6 inches long. These hooks are sized by letters that range from B for the smallest size and up to K for a wide hook. The hook end is the crook that grabs the yarn and pulls it through the stitches. The throat is just down from the hook and is shaped so you can slide stitches from the hook to the working area. The working area is the section of hook between the throat and fingerhold. The fingerhold is the flat area that makes it easier to grip the hook using your thumb and third finger. The long area past the fingerhold is the handle, which helps you balance the hook and move it for making the stitches.
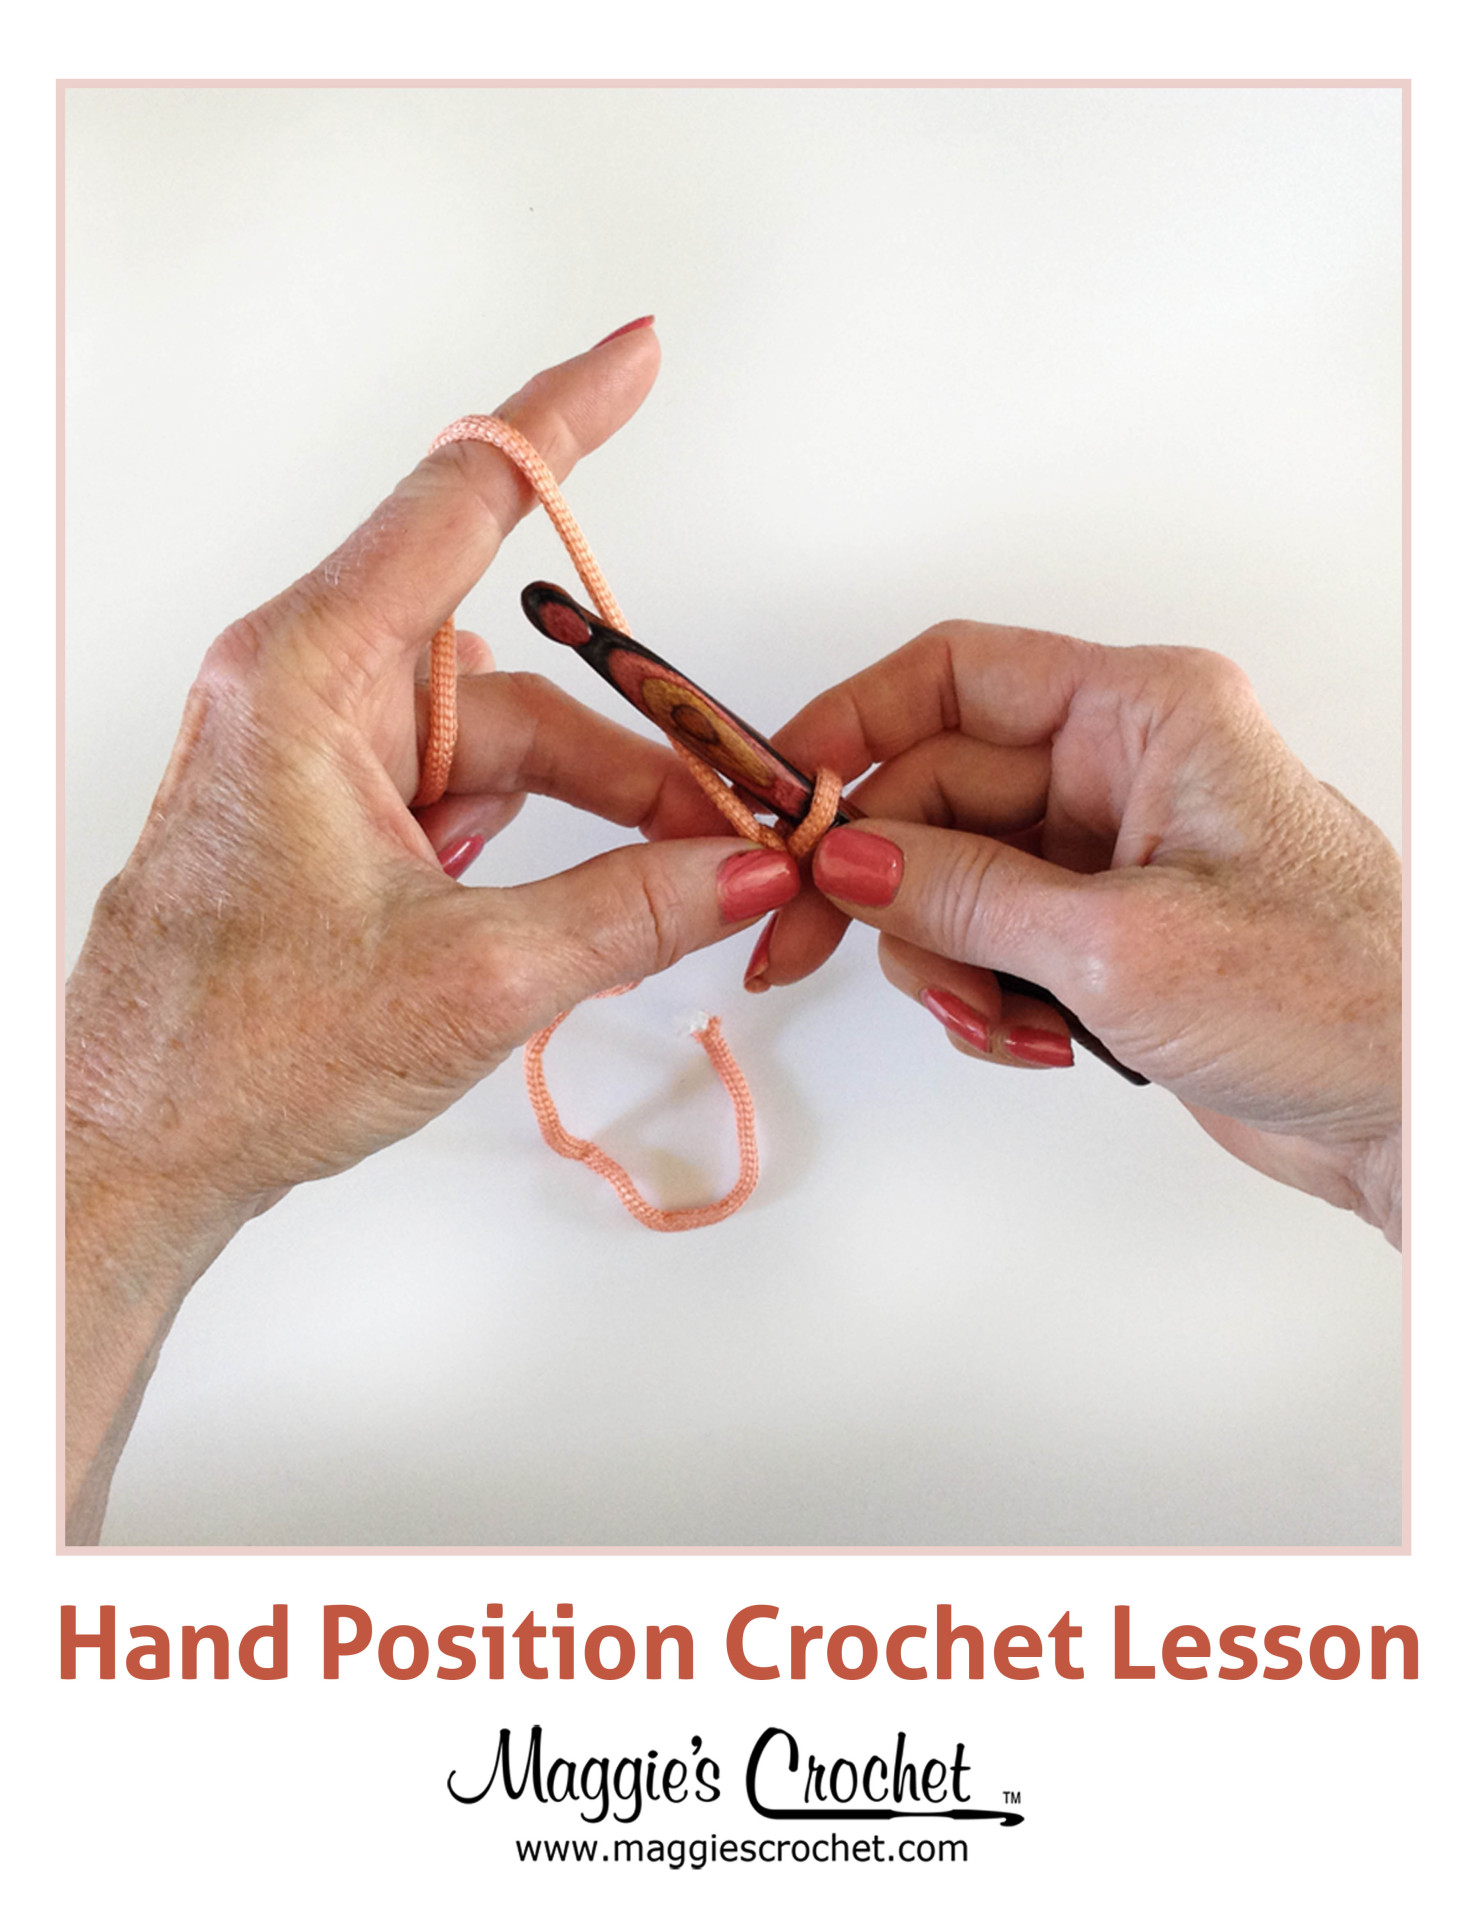
Hold the hook so the thumb and third finger on the right hand (for right-handed crocheters) are grasping the fingerhold. The index finger is placed near the throat and the remaining fingers can rest on the handle to help control the hook. Turn the hook so it is at a slight angle towards you and not straight up and down. Work the yarn so the stitches are made in the
working area and not the throat. Using the throat to make the stitches will result in them being too tight.
Watch the Right-Handed Video Lesson:
Watch the Left-Handed Video Lesson:
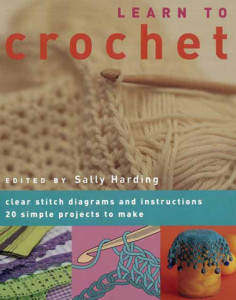
All you need to know in one small handbag sized book, packed full of clear stitch diagrams and instructions – plus 20 simple projects to make. Learn to Crochet is the only book you will need to learn to create beautiful crocheted garments from your own hook. The book is packed with detailed information on yarns and threads, hook types and sizes, plus step-by-step guidance on holding a hook and yarn, making a loop to basic stitches and much more. All of the teaching sections have clear color artwork and diagrams, teamed with color photography of real-life examples of crocheted items, ideal for the beginner.
Maggie is excited to bring you Crochet University: First Semester. Lessons for this semester are: Crochet Basics: Slip Knot, Crochet Basics: Hand Position, Crochet Basics: Chain, Crochet Basics: Foundation Chain, Crochet Basics: Slip Stitch, and Crochet Basics: Single Crochet.
Hugs, Maggie
Be sure to…
Visit my Website
Join me on Facebook
Subscribe to the Maggie Weldon YouTube Channel for crochet lesson videos
Subscribe to Maggie’s Crochet YouTube Channel for product reviews
Sign Up for My Newsletter
Follow us on Pinterest
Follow us on Twitter
Leave us a comment below

why won’t this site let me download the free patterns?
What pattern are you trying to access?