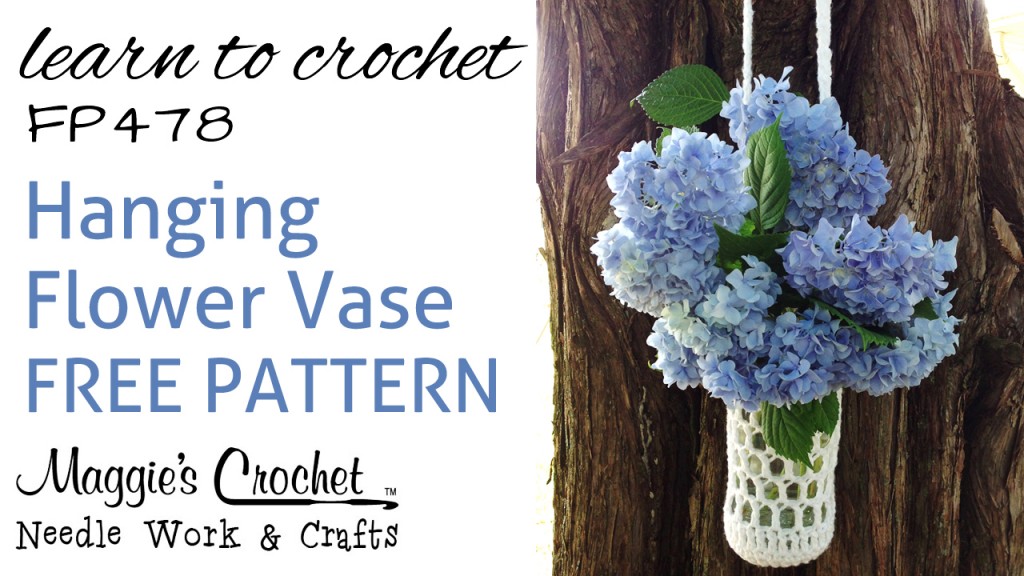
Click the photo for video tutorial with Maggie Weldon and subscribe to her youtube channel for video updates when other tutorials are posted.
Click the photo for a left handed video tutorial with Maggie Weldon and subscribe to her youtube channel for video updates when other tutorials are posted.
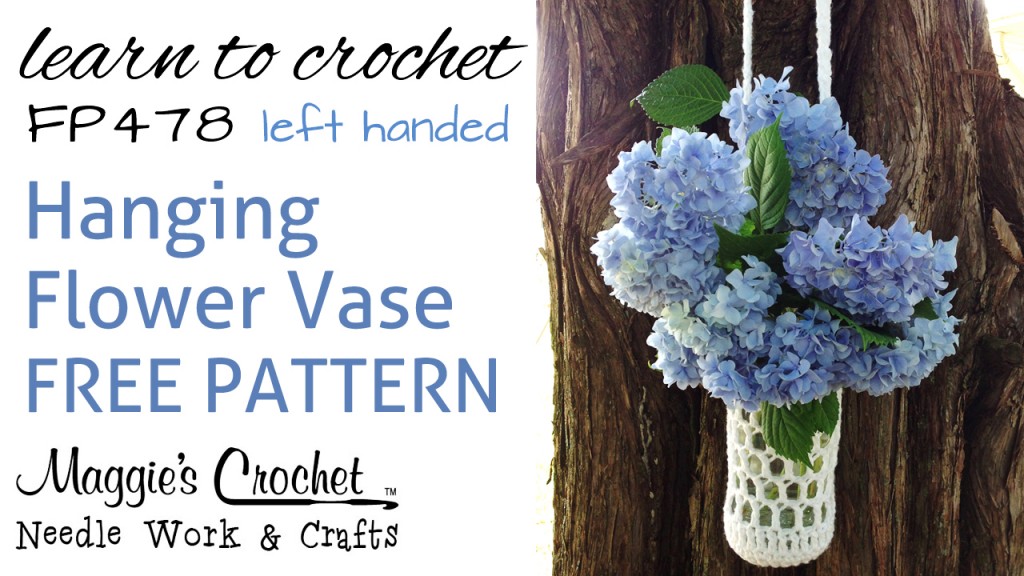
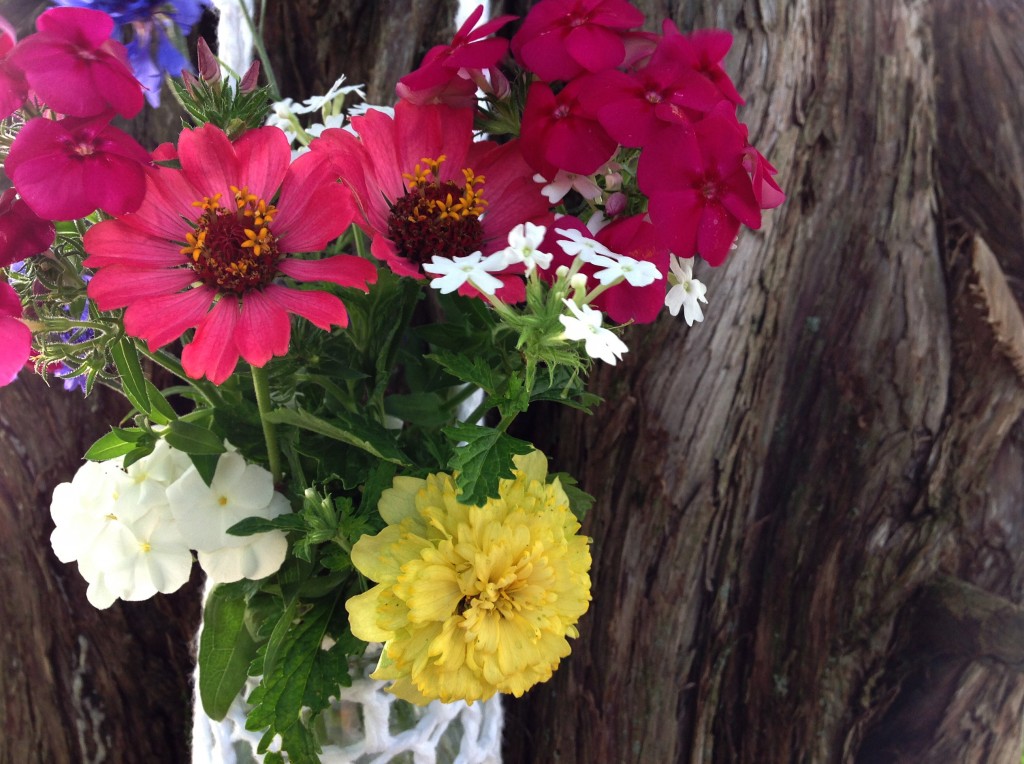
Crochet this super easy hanging vase using worsted weight yarn. In this video I used Lily Sugar & Cream yarn. I like the white for summer. It goes well with cut flowers. The flowers in the photo were cut from my flower garden. This is why I LOVE flowers. The written pattern can be found at the end of this post.
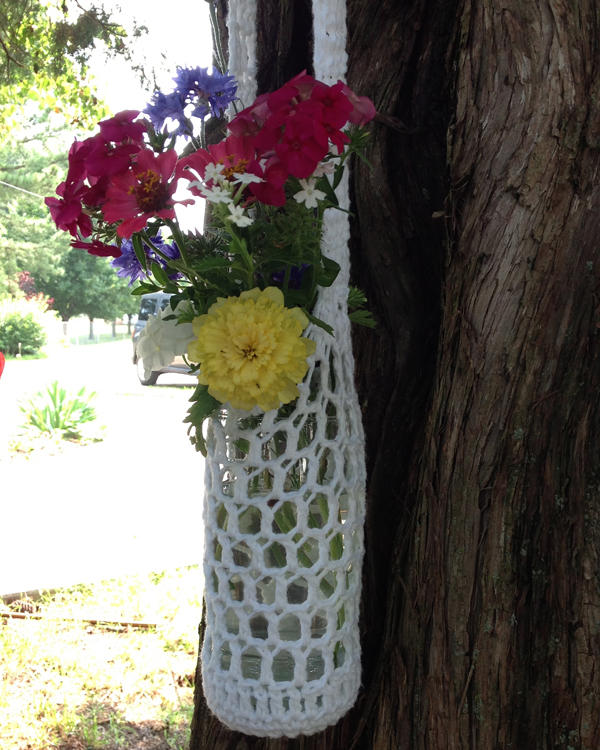
Hanging Vase with cut flowers from my garden.

Crochet Hanging Vase with hydrangeas.
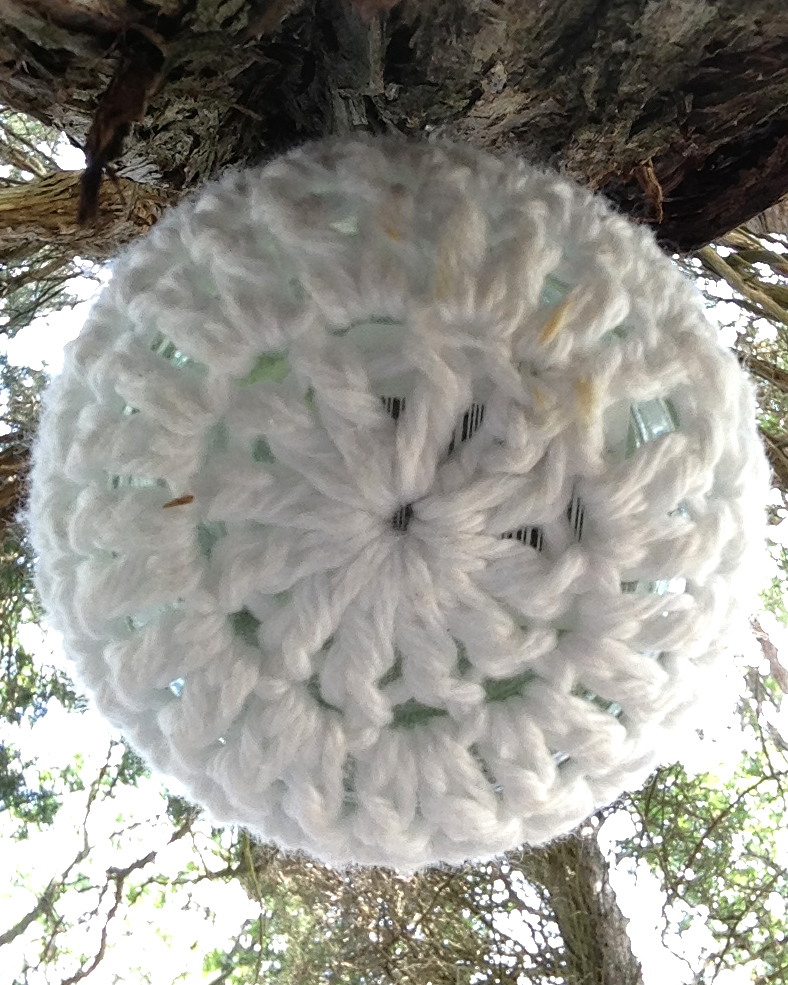
The super simple crochet pattern is started from the bottom.
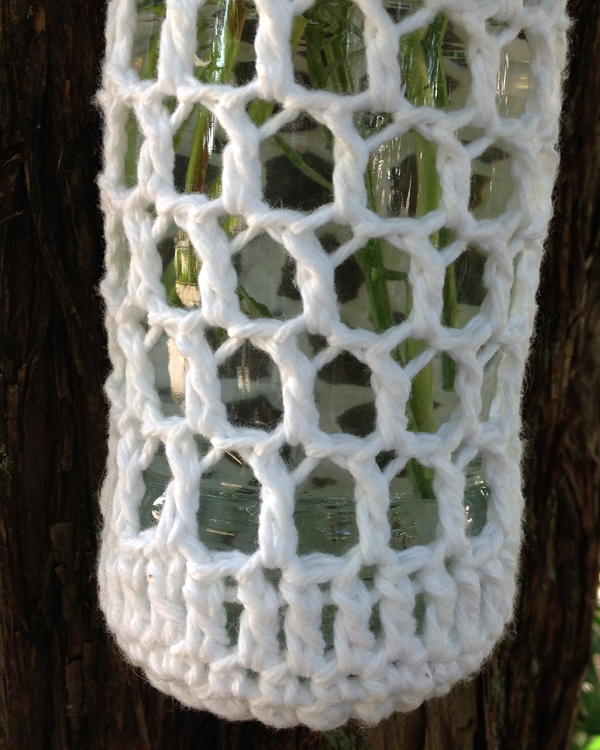
Sides of vase cover are created with open squares double crochet and chain 1 stitches.
Here is a screen saver for your computer. Right click and save. Then change your desktop settings to show this image.
Ideas: Work this pattern around any glass size – even shorter glasses. Use the shorter glass as a candle holder. Work the cover in cream or muted tones for fall. Use artificial or crocheted flowers.
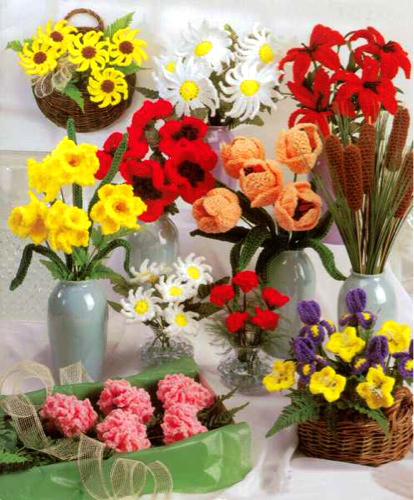
Crochet these easy flowers to put in your vase!!
Buy Maggie’s Crochet Flower Shop Pattern
FREE Crochet Pattern – Glass Cozy Flower Vase
Designed by: Maggie Weldon
Skill: Beginner
Size: Cover fits over a glass with a 3” base. The glass should have sides that go straight up.
Materials: Clear glass with a 3” base. Worsted weight yarn; 2 ounces (60 grams) any color. I used white cotton yarn. Yarn needle.
Crochet Hook Size: I or H would work good too.
Directions
Rnd 1: Starting at bottom, ch 4, sl st in first ch to form ring, ch 3 (counts as first dc), 11 dc in ring; join with sl st to first dc. (12 dc)
Rnd 2: Ch 3, dc in same dc as joining, 2 dc in each dc around; join with sl st to first dc. (24 dc)
Rnd 3: Ch 1, 2 sc in same st as joininig, sc in next 3 dc, (2 sc in next sc, sc in next 3 sc) 5 times; join with sl st to first sc. (30 sc)
Note: At this point make sure your circle will fit across the bottom of the glass. If you need it smaller omit Rnd 3. If you need it bigger add another round of single crochet stitches and increase 6 single crochet stitches evenly spaced around.
Rnd 4: Sides: Ch 3, dc in each dc around; join with sl st to first dc. (30 dc)
Rnd 6: Ch 4, (dc in next dc, ch 1) around; join with sl st to first dc. (15 ch-1 sps)
Repeat Rnd 6 until you are about 1-2 inches from the top rim of glass.
Last Rnd: Ch 3, dc in each ch-1 sp and dc around; before joining mark the 16th dc of this Rnd; join with sl st to first dc. (30 dc)
Handle: Row 1: Ch 3, dc in next 3 dc. (4 dc)
Rows 2-30: Ch 3, turn dc in next 3 dc.
At the end of Row 30 finish off leaving a 12” end.
Finishing
Skip the next 11 dc of Last Rnd, making sure not to twist handle, sew end of Row 30 to Last Rnd of sides starting at marked dc stitch. Finish off and weave in ends.
© 2012 by Maggie Weldon
Enjoy Crochet,
Maggie
Be sure to…
Visit my Website
Join me on Facebook
Subscribe to the Maggie Weldon YouTube Channel for crochet lesson videos
Subscribe to Maggie’s Crochet YouTube Channel for product reviews
Sign Up for My Newsletter
Follow us on Pinterest
Follow us on Twitter
Tell Me What You Think – comment below


I am working on this as a water bottle carrier. The pattern is very easy to follow. It was working up too small for me so I had to switch to a size J hook though.
I also bought your patterns for the tea sets on your site and I have finished the green tea set but not the miss muffet one yet. My granddaughter loved the tea set. It turned out beautiful looking. Not as pretty as your original but still very nice.
I have been learning how to crochet wth your pattens and your videos and I am just very thiankful for all of your help.
God bless,
Thank you for such a sweet comment Jo Ann! I am so glad to hear of your crochet successes. If you have a photo of the tea set you made, I would love to see it on my Facebook wall at http://www.facebook.com/maggiescrochet 🙂
Happy Crocheting,
Maggie
Stay tuned on my blog and http://www.youtube.com/maggieweldon – you can subscribe to both to get updates when new things are posted.
Thanks so much for showing is how to make these! I love them! You explain so well and it makes it easy to follow and learn— I’m hoping I can make a lot of them to sell at the farmers market and help my niece on her college expenses… But anyway wondering if you can show us how to make these with the “net” -stitch, I’m really not sure how it’s called but it looks like a diamond shape.. Thanks so much! You’re awesome! 😉